
It's Friday!! Today I wanted to share one of my pinterest projects for this year. I'm trying to do one craft project each month this year that is not scrapping or card making. This is related to scrapping since it's an organizer for my stickers but it's not a layout.
I found this really neat idea to make your version of a clip-it up organizer. I love the clip it up but I really don't want to spend over $40 for it. So my version that I found on pinterest only cost me about $20. I bought a paper towel roll for $12 that has a removable top, some 8X11 page protectors, some cardstock to put in the protectors to make them stiffer, some binder rings, and some sticky tabs for categorizing. I bought most of this stuff at Big Lots so it was much cheaper!
 |
| So here are my supplies: cardstock, paper towel holder(it's a nice heavy one), binder rings, and page protectors. Not pictured are the tabs. |
 |
| I put my card stock in the page protectors first. |
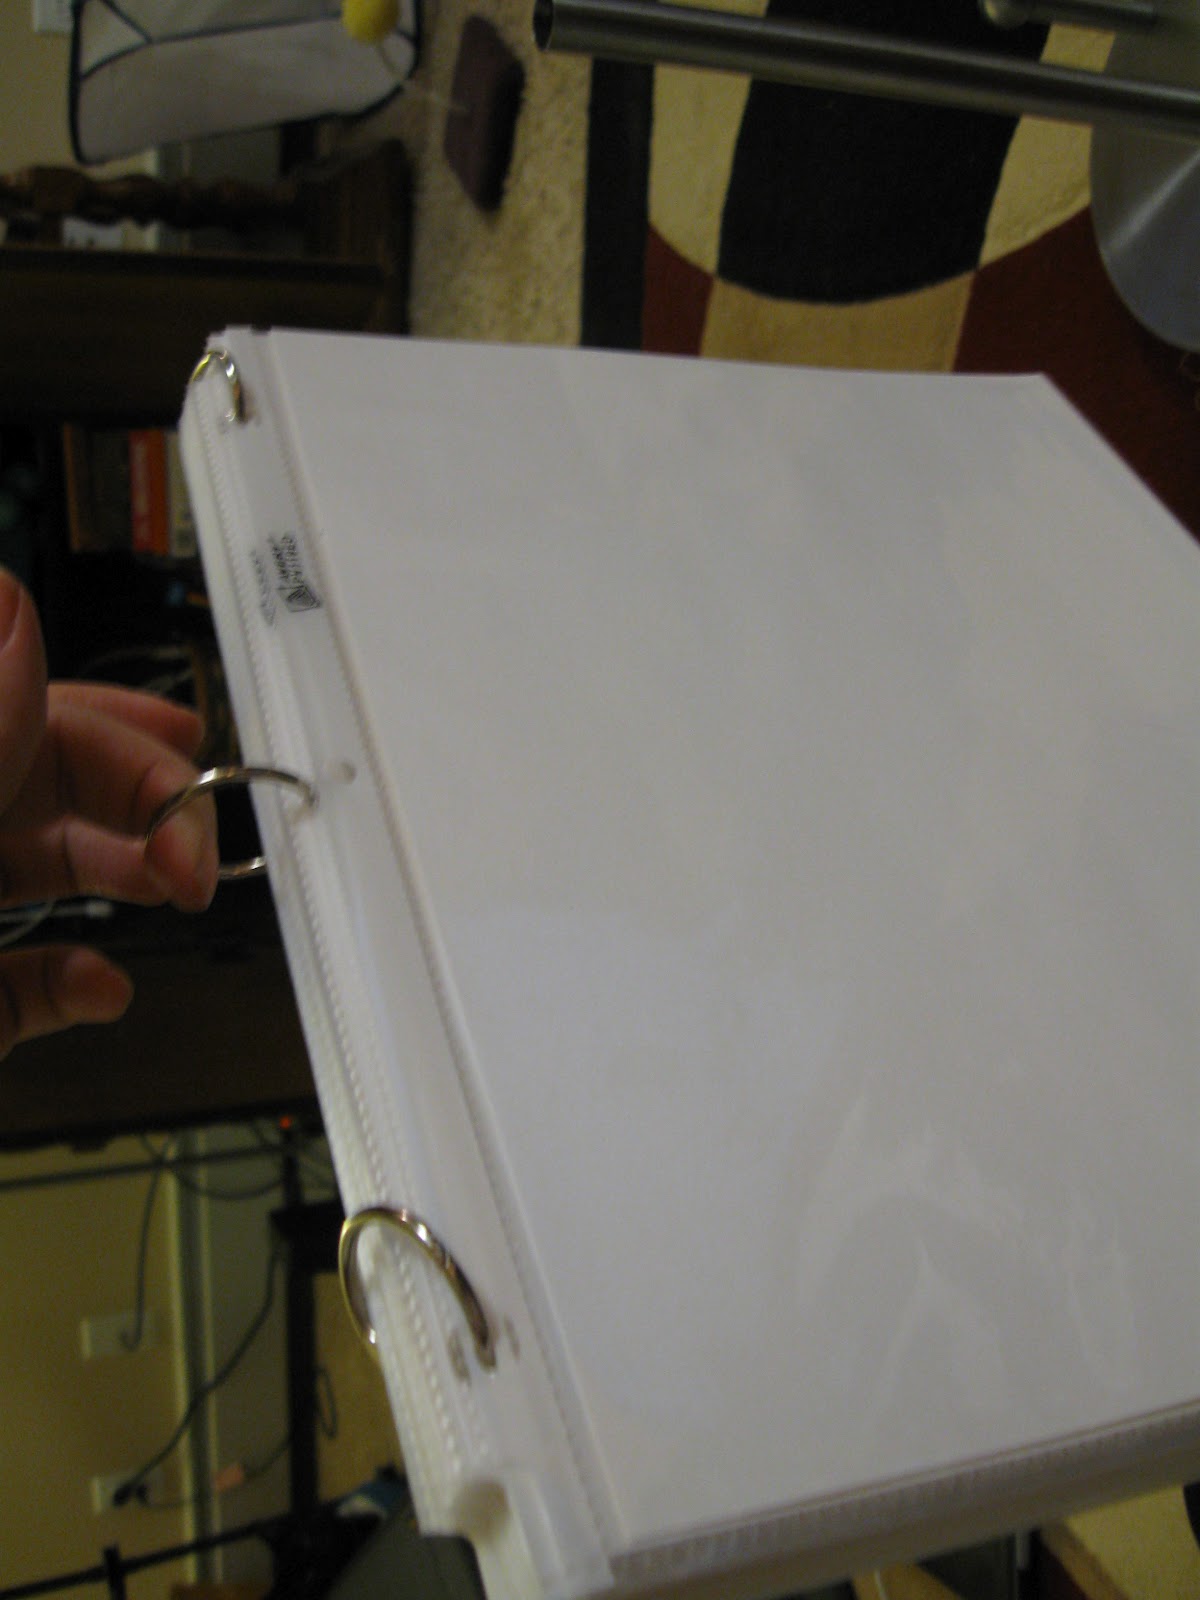 |
| Then clipped all the pages together with the binder rings. |
 |
| Took the top off the paper towel holder, and slid the pages on. |
 |
| Then screwed the top back on. I added the tabs later. Once you figure out your categories, you can right them on the tab and stick the tab on the card stock itself(not on the page protector). Some of my categories were the various holidays, seasons, wedding, baby, etc.
Now I will say that once I added the stickers, my pages did droop a little and no it doesn't rotate like the clip it up, but it works for me and it's much cheaper than buying the clip it up. Maybe one day i'll own one, but for now, this $20 DIY one will suit me just fine.
Hope you enjoyed this tutorial!!
Have a great Friday everyone!
|

Love this idea! I plan on making one myself, but will add a "lazy Susan" type turntable to the bottom of the paper towel holder so it will spin. Thanks for sharing!
ReplyDelete